How To: Changing Brake Rotors and Pads on ’08 Ford SportTrac
I needed some additional braking power on the SportTrac, especially when pulling the bike trailer at Interstate highway speeds. Even though the bike trailer has electric brakes, quick stops still put a heavy load on the truck’s brakes. I had several incidents on the Interstates where I have had to haul the truck and trailer from 70 to 0 very quickly. Under those conditions you can feel the brakes on the truck starting to fade before you get to a full stop. Without the trailer, the truck stops very well, I have never noticed any fading on hard stops. The total of the truck, trailer, and two bikes comes up to just over 8300 GVW. That’s pretty heavy for a mid-sized pickups brakes so I figured a upgrade was in order.
I was very pleased with the results of putting the Brake Performance slotted rotors on the Corvette so I thought that I would try the same on the SportTrac. I ordered the rotors and had them in about 6 days via UPS. I put the slotted rotors on the Corvette, but this time I went with the slotted and cross-drilled rotors. The rotors were of the same high quality that I received for the Corvette. The dimensions were the same as the stock rotors, the plating was excellent. Brake Performance plates their rotors for initial protection and good looks as well.
I thought as long and I was changing the rotors and pads, I would document the process in case any of you Shade Tree Mechanics out there wanted to know how much work it is. It isn’t hard, no special tools are required, but it is a bit time consuming doing all four brakes. Took me about three hours, with a couple of breaks to get a drink and straighten out my back for a few minutes. Unless you have a lift, which I don’t, it is a job that requires you do get down low, and that is hard on my old back!! But anyway, here we go.
I started on the front. The brake pads have ‘nubs’ on them so to get the caliper off you need a little slack between the piston and the pads. So user a C clamp on the front caliper and push the piston back about a ½ inch. It will make the caliber much easier to get off.
Use a large C Clamp to push the pistons back about 1/2 inch.
Next, remove the bolt with that holds the wire for the anti-lock brake sensor with a 10mm wrench.
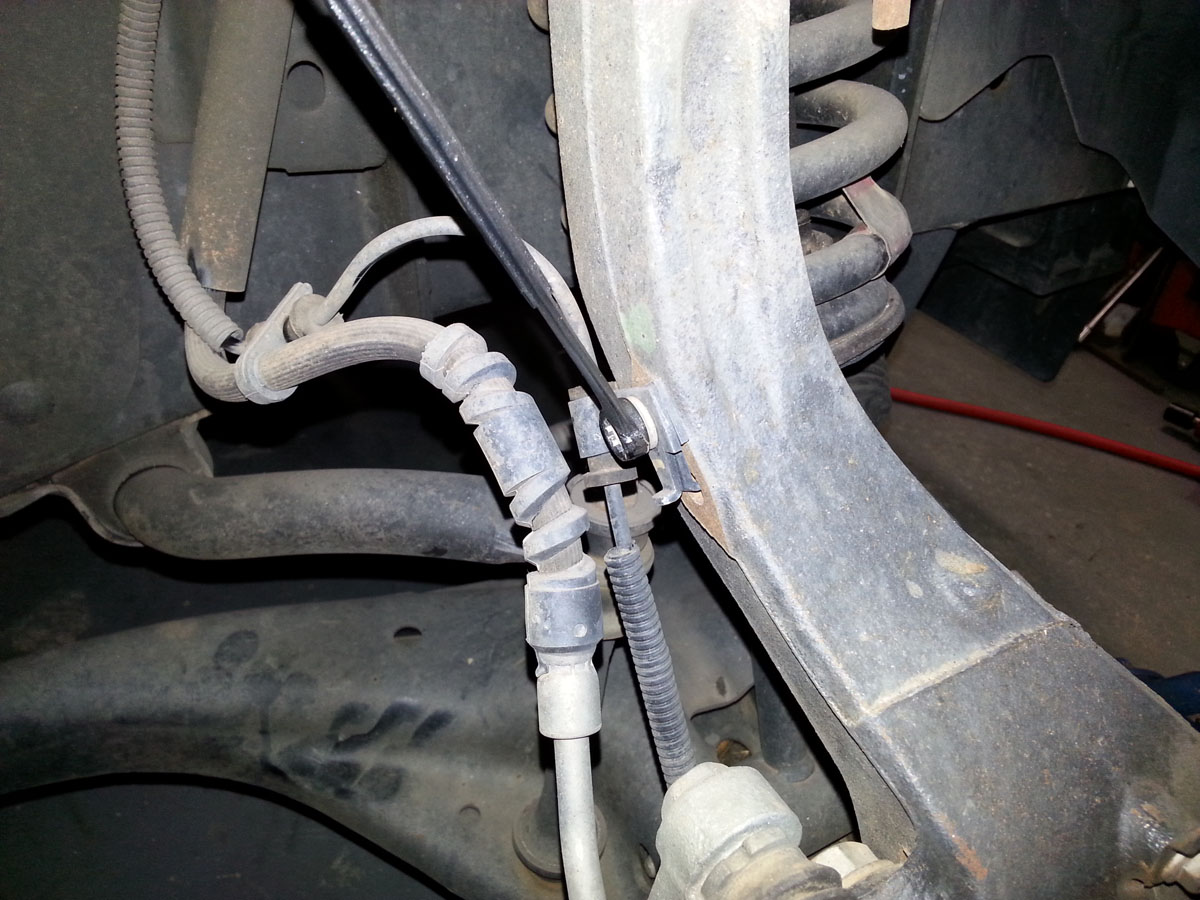
Using a 10mm wrench, remove the Anti-Lock sensor cable.
Remove the two bolts that hold the caliper to the bracket. Remember “Lefty Loosey, Righty Tighty?” In this case, since you are on the “back” side of the bolt it is now REVERSED. So to loosen these bolts you are going to turn them to the RIGHT.

Remove the caliper attaching bolts.
The caliper will now lift off. The pads stay with the mounting bracket. Bend up a heavy piece of wire, welding rod, coat hanger, or something similar to make a hanger for the caliper. Don’t let it hang from the brake hose. Support the caliper with the wire hanger and position it back out of the way.

Use a heavy wire to hang the caliper, don’t let it hang by the brake line.
Remove the pads by pulling them out of the bracket.

The pads will pull straight out of the bracket notches.
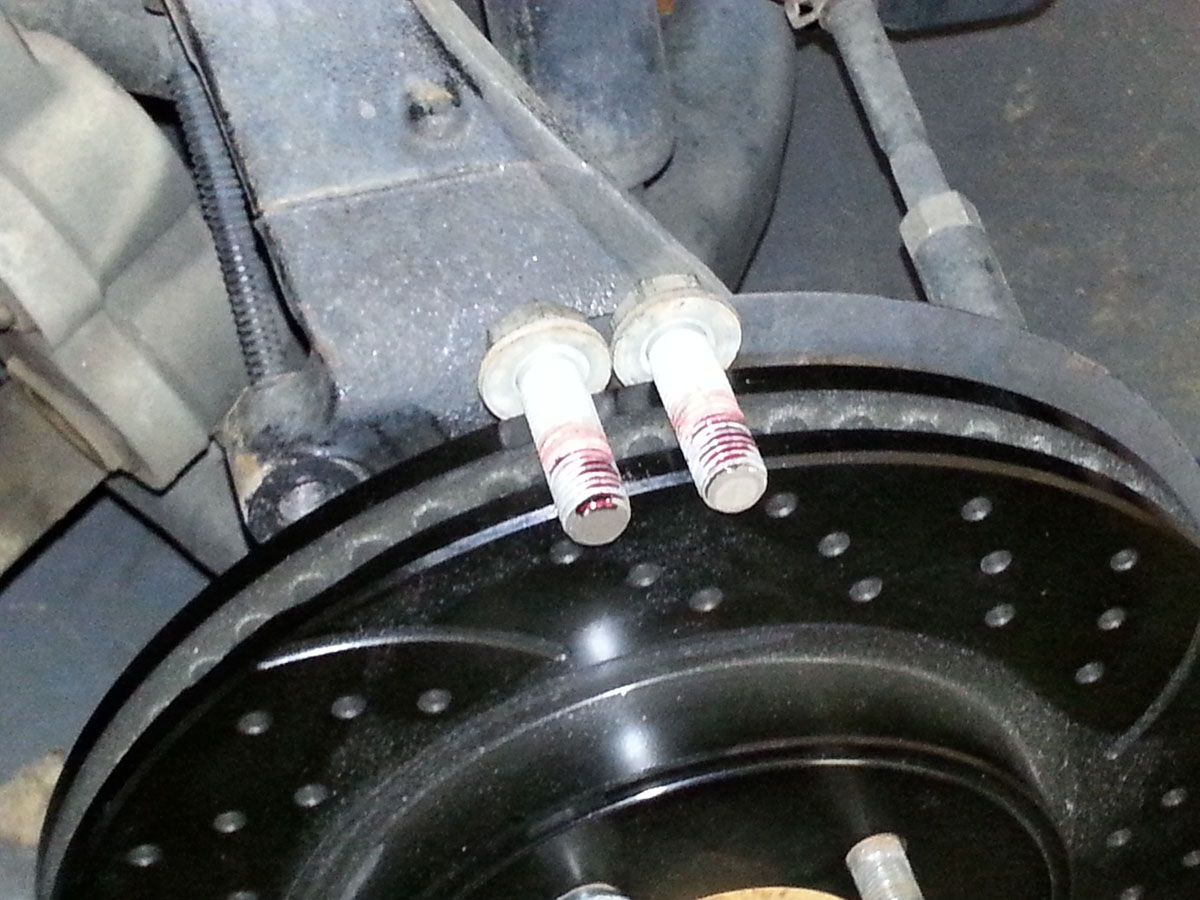
Next, remove the caliper mounting bracket by removing its two attaching bolts. These are pretty tight so I recommend a ½ inch breaker bar to get them loose, then you can remove them with your ratchet.

The bracket attachment bolts are very tight, use a breaker bar to loosen them.
Remove the clips on the lugs that hold the rotor in place, then remove the rotor stock rotor and replace it with then new rotor. The new slotted and cross drilled rotors are directional. There are left and right rotors and they are marked with a R or L after the part number.

Check the rotor for L or R.
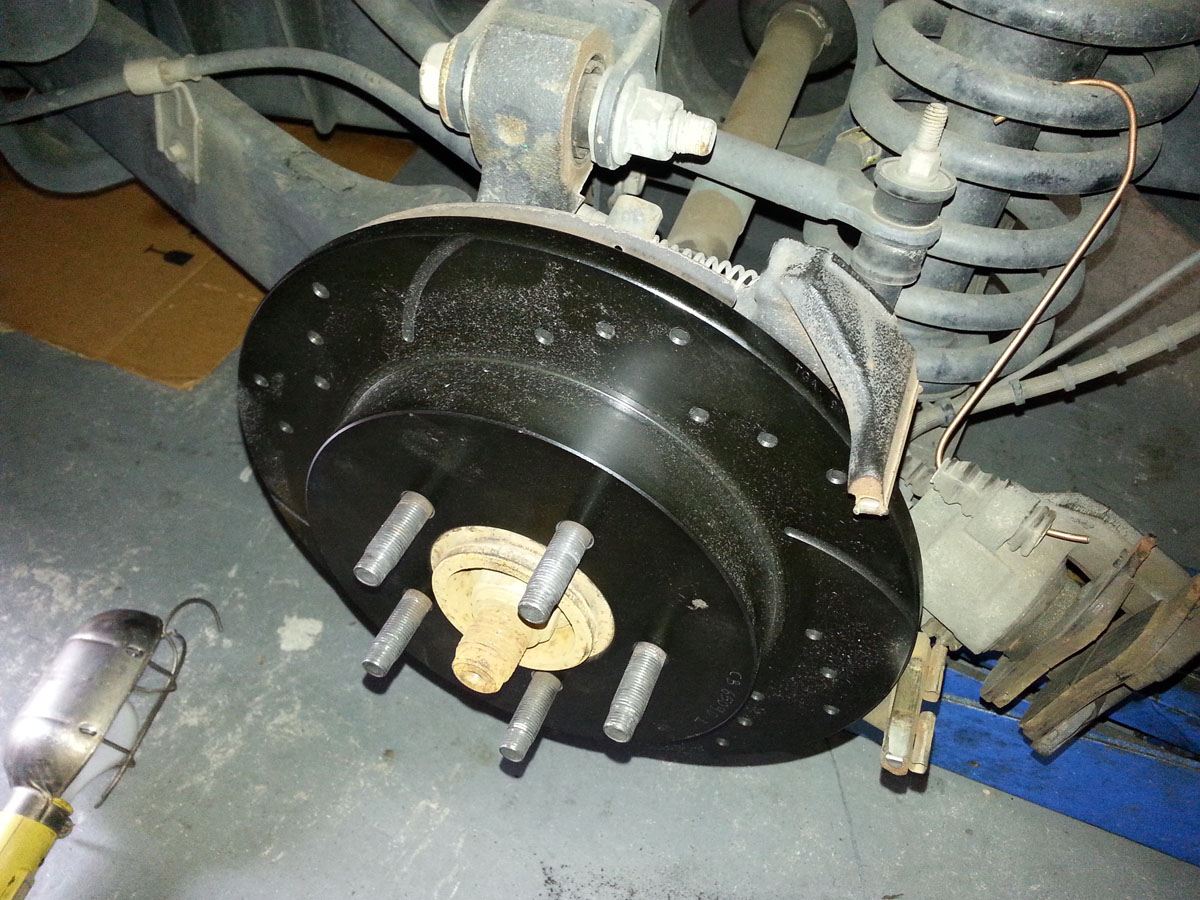
Put the new rotor on and use a lug nut to hold the rotor in place. Put a dab of Loctite on the bracket mounting bolts, then replace the caliper mounting bracket.
Put a dab of Red Loctite on the caliper attaching bolts.

Bracket in place, ready for pads.
Install the pads. The front pads fit into the notches on the mounting bracket.

The pads fit into the slots on the bracket.
Take one of your old pads and the C clamp and push the pistons back all the way so the caliper will fit over the new thicker pads.

With a old pad in place you can push back both pistons without damaging them.
Put the caliper back on over the pads, and install the two attaching bolts. Re-attach the Anti-Lock sensor wire and you’re done except for putting the wheel back on.

Caliper back on, ready for wheel.
Now on to the rear brakes. The rears don’t require removing the caliper bracket, but, the installation of the pads is a bit tricky on the rears.
Start by removing the 2 bolts that hold the caliper to the mounting bracket with a 10mm wrench.

Two bolts and the caliper is ready to come off.
Next, remove the caliper and the pads together by pulling the top of the caliper out first then the bottom.

Tip the top of the caliper out first, then the bottom. This will be reversed for installing after pads are replaced.
Remove the rotor. Because of rust between the hub and the rotor this can be a chore. I find that getting a good heavy pry bar behind the rotor and striking the rotor with a brass hammer will usually break it loose. Put the new rotor on observing the L or R scribed on the rotor.
Rotor in place, now to the pads.
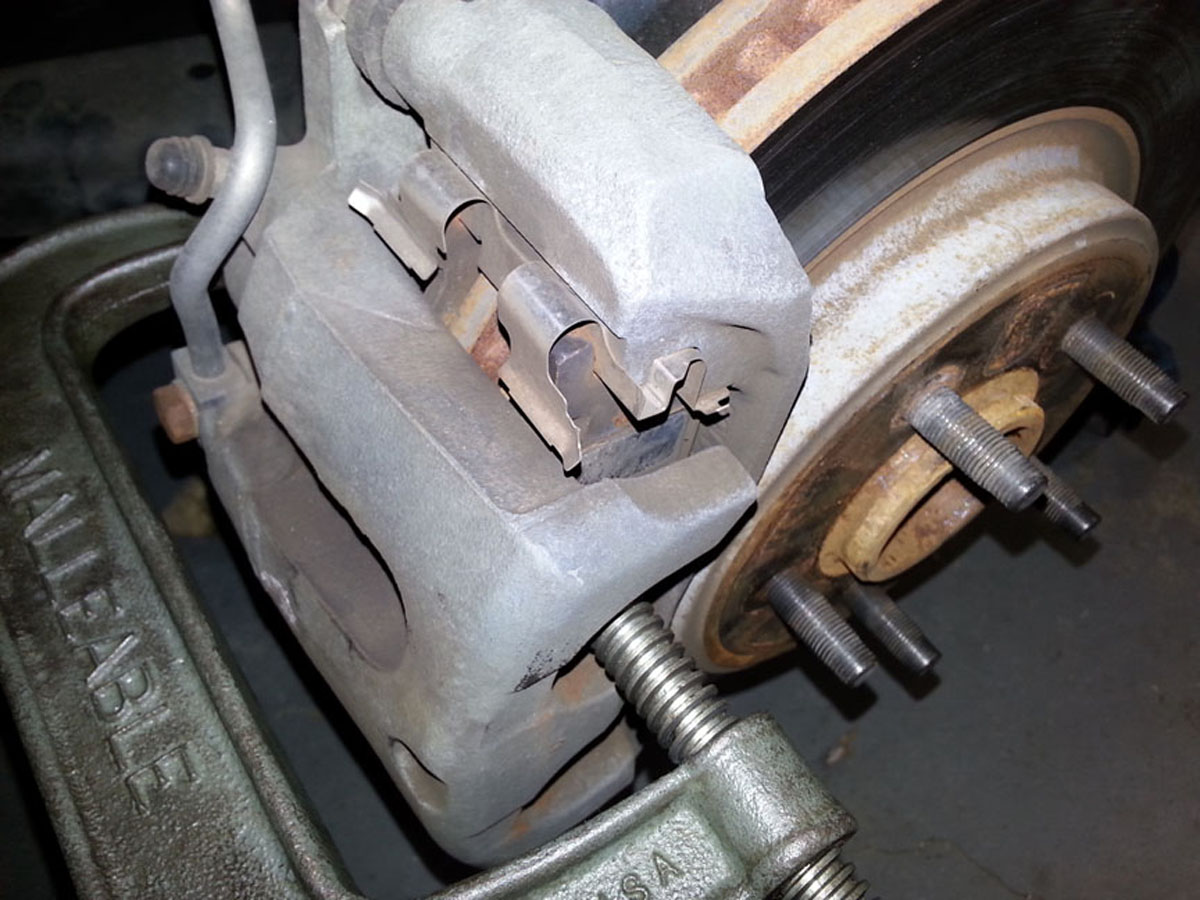
The rear has a different inboard and outboard pad. In the inboard (on the right in the photo below) pad has retaining clip in the center back of the pad. That clip goes inside of the recess in the brake piston.

Outboard on the left, inboard pad on the right.
Pry the outboard pad first. I found that putting a screwdriver between the clip and the caliper and bending the clip out away from the caliper (basically hyper extending the spring clip so it didn’t move all the way back) made it much easier to get the outboard pad out. Once the outboard pad is clear, you can pull the inboard pad straight out of the piston. To put the pads back in, reverse this process, inboard pad first, then the outboard. Reinstall the caliper, putting the bottom in first then the top. Carefully check the tabs on the pads to make sure they engage the mounting bracket ways:
Bottom:

Arrows point to tabs on the pad. Make sure they are hooked on the bracket.
Top:

Same check to the top of the pads.
There you have it. Put your wheels back on. Before you go driving around to try out your new rotors, pump the brake pedal to move the piston out to contact the pads. Pump it until the pedal has some good hard resistance.